DIY Toolkits Set
Leather Toolkits Guide & How It Works
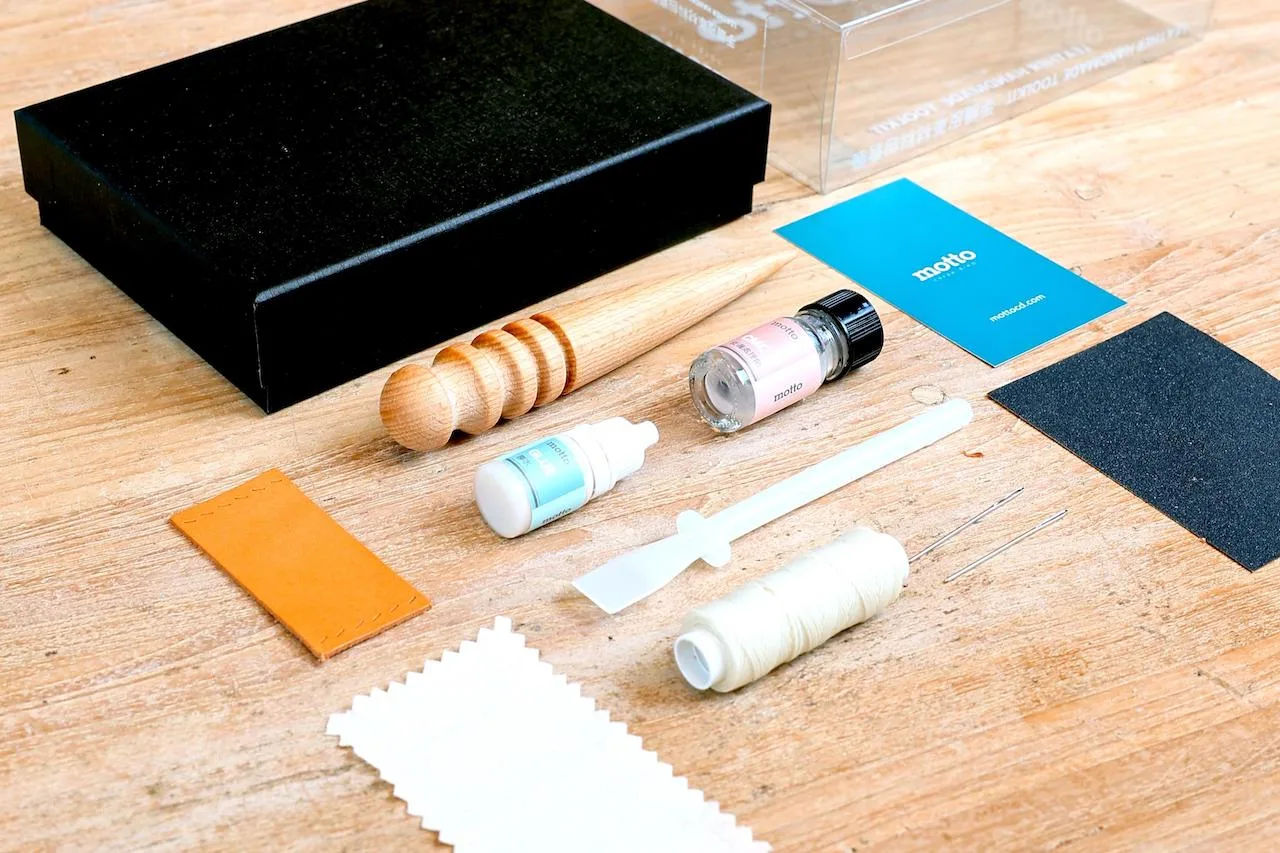
motto Leather Toolkits
motto always receive questions with customers about the contact of leather toolkits. Is that toolkits material enough to produce the leather goods successfully?
Answers: YES!
Let’s introduce the contact of the toolkits one by one
Leather Tools including with the toolkits box
Materials include: ready-made stitching holes leather parts, Tutorial Video QR code card, wood burnisher, CMC, sandpaper, cloth, needles, waxed thread, glue, glue spreader, metal parts (if needed), gift box
Burnishing Leather Edges Tools
-
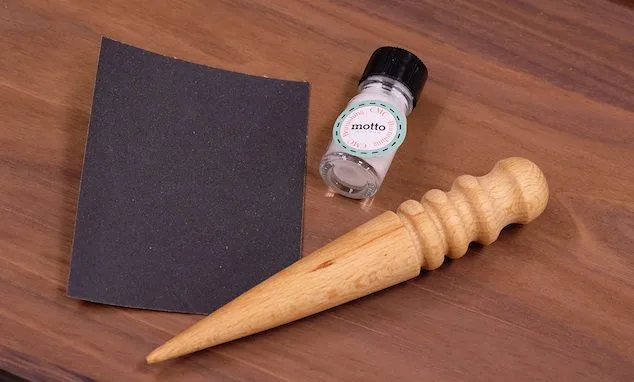
Wood Slicker
- Using wood slicker and CMC to smoothen the leather edges. Take the rounded edge of the Wood Slicker and rub against the leather edges in circular and back and forth motions.
- CMC
- Leather processing agent ,to smoothen the leather’s edges.
- Sandpaper
- Smoothen the uneven edges with sandpaper.
Stitching Tools
- Leather Needle
- Stitching leather goods with waxed thread. The needle different from ordinary sewing needle is larger and more diffuse.
- Waxed thread
- The waxed thread is common to use on hand-stitching leather goods. It can prevent the frizz of thread effectively also let the stitching to be neater.
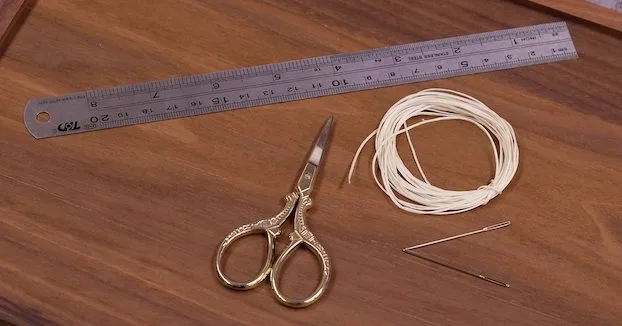
*Scissors and ruler are self-prepare tools
Self-prepare tools
- Ruler
- Measure the length of the waxed thread or the distance of each card slot.
- Scissors
- Using scissors to cut the waxed thread and the end of stitching step
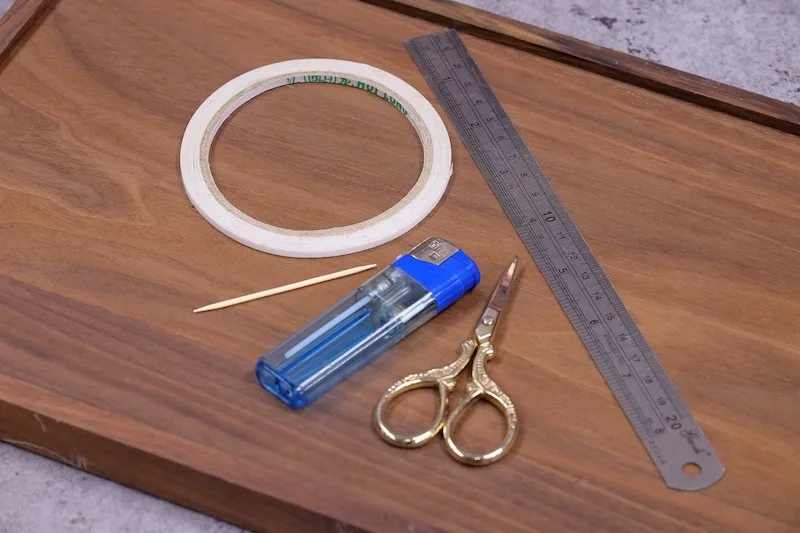
- A Lighter
- Using lighter to burn the ends to keep them from fraying.
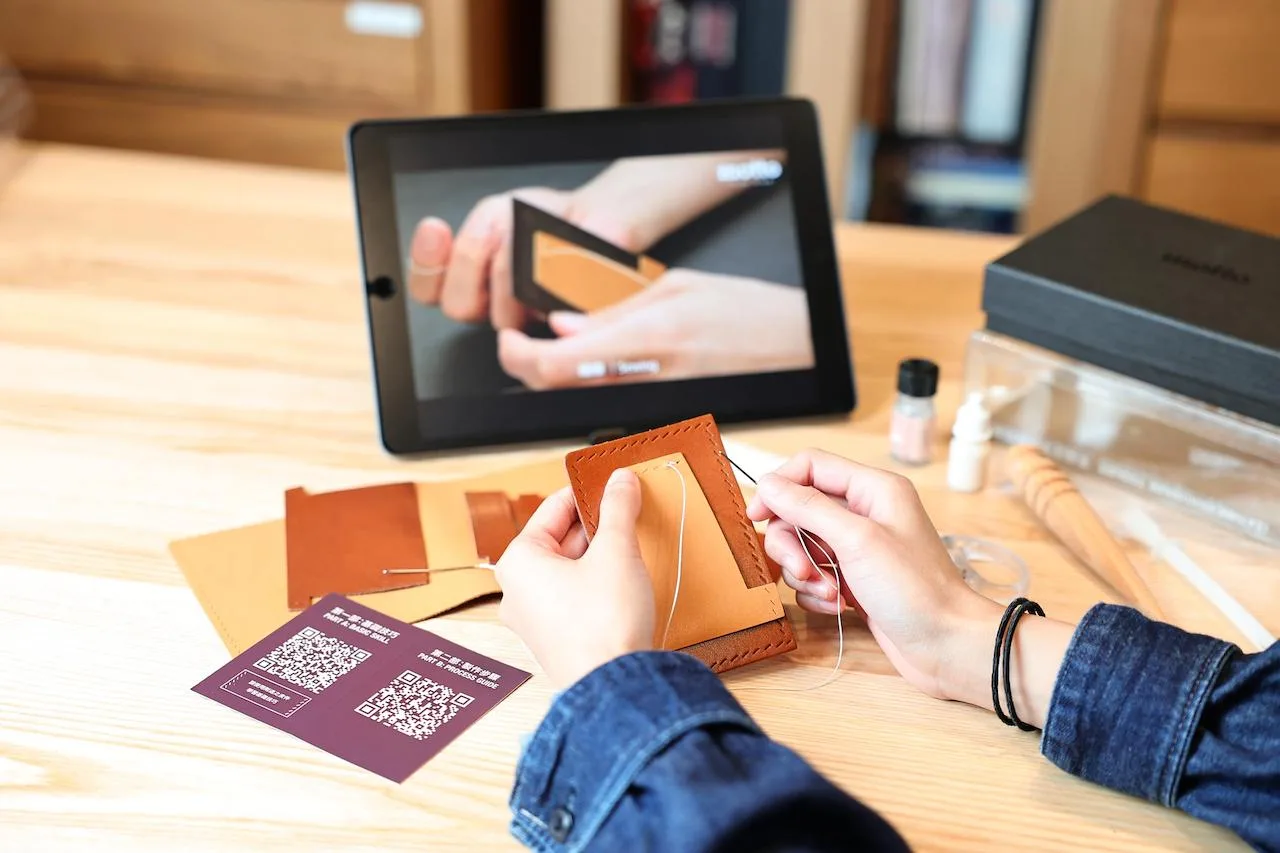
Tutorial Video
Includes a QR Code Card for YouTube Tutorial
Part A: Basic Skill
- Instructions on edge burnishing, applying glue, assembly, threading, sewing, and end stitching.
Part B: Process Guide
- Detailed video tutorial on the leather crafting process.